


It was a normal afternoon where we were discussing crypto and token, during that time I was creating an NFT game where I was using this library known as openzeppelin.com. We started discussing openzeppelin.com more that's when our CTO thought let's create one of our own crypto tokens based on our colleague Initials and the name of our token is PP token.
Let's see how we created our own token using solidity and openzeppelin.com library and deployed it on the test network(Rinkeby network)
Tech stack used in this project
Hardhat
We will be using hardhat for the development environment to compile, deploy, test, and debug your Ethereum software. You can find more about it here
Let start by creating a blank project using a hardhat, this blank project contains all the solidity boilerplate that we will be needing to create our own crypto token
Let's run the following command in our terminal
> mkdir pp_token
> cd pp_token
> npx hardhat
888    888                      888 888               888
888    888                      888 888               888
888    888                      888 888               888
8888888888  8888b.  888d888 .d88888 88888b.   8888b.  888888
888    888     "88b 888P"  d88" 888 888 "88b     "88b 888
888    888 .d888888 888    888  888 888  888 .d888888 888
888    888 888  888 888    Y88b 888 888  888 888  888 Y88b.
888    888 "Y888888 888     "Y88888 888  888 "Y888888  "Y888

Welcome to Hardhat v2.8.2

? What do you want to do? …
▸ Create a basic sample project
  Create an advanced sample project
  Create an advanced sample project that uses TypeScript
  Create an empty hardhat.config.js
  Quit
In the above snippet, we created a blank folder named pp_token and inside that folder, we ran npx hardhat which will create the boiler plate.
select the first option create a basic sample project and select y for all the next options once the project is run successfully you will find multiple files created inside the folder pp_token
Here is the file structure
* [contracts/](./pp_token/contracts)
  * [Greeter.sol](./pp_token/contracts/Greeter.sol)
* [scripts/](./pp_token/scripts)
  * [sample-script.js](./pp_token/scripts/sample-script.js)
* [test/](./pp_token/test)
  * [sample-test.js](./pp_token/test/sample-test.js)
* [.gitignore](./pp_token/.gitignore)
* [README.md](./pp_token/README.md)
* [hardhat.config.js](./pp_token/hardhat.config.js)
* [package-lock.json](./pp_token/package-lock.json)
* [package.json](./pp_token/package.json)
Most of the code is boilerplate so let's go inside the contracts>Greeter. sol and rename the file Greeter.sol to PPtoken.sol and paste the following code inside the PPtoken.sol
//SPDX-License-Identifier: Unlicense
pragma solidity ^0.8.0;

import "hardhat/console.sol";

contract PPtoken {

}
2. Install openzeppelin[openzeppelin.com/contracts/]
Now, it's time to install the openzeppelin, it is a library for secure smart contract development. Openzeppelin provides a list of solidity contracts or standards that can be inherited to create our own contracts.
Following are a few of the standards that we have already seen
ERC 20 - An ERC20 token contract keeps track of fungible tokens: anyone token is exactly equal to any other token; no tokens have special rights or behavior associated with them. This makes ERC20 tokens useful for things like a medium of exchange currency, voting rights, staking, and more
ERC721 is a standard for representing ownership of non-fungible tokens, that is, where each token is unique. ERC721 is a more complex standard than ERC20, with multiple optional extensions, and is split across a number of contracts. ERC721 is also NFT standard
ERC1155 The distinctive feature of ERC1155 is that it uses a single smart contract to represent multiple tokens at once. This is why its balanceOf function differs from ERC20’s and ERC777’s: it has an additional id argument for the identifier of the token that you want to query the balance of. This token is nothing but semi fungible NFT which means a single NFT can be owned by multiple holders
As we are creating a token, we will be using ERC 20 for our contract. We can easily inherit ERC 20 on top of our PPtoken and create our own ERC 20 Token.
Time to update our PPtoken.sol with the below code
// SPDX-License-Identifier: MIT
pragma solidity ^0.8.2;

 import "@openzeppelin/contracts/token/ERC20/ERC20.sol";
 import "@openzeppelin/contracts/access/Ownable.sol";

contract PPtoken is ERC20, Ownable {
    constructor() ERC20("PPToken", "PPTK") {}

    function mint(address to, uint256 amount) public onlyOwner {
        _mint(to, amount);
    }
}
Let's break the code
contract PPtoken is ERC20, Ownable
It's kind of inheriting ERC20 code standards to our token so that we can access all the standards of the ERC20 token. Ownable is again an abstraction that defines the ownership of who is minting the token
constructor() ERC20("PPToken, "PPTK") {}
Constructor only executed once while deploying the contract, the above code tells that create an ERC 20 token with the name "PPToken" and token as "pptk" this is as good as saying create token name "Bitcoin" and token "btc" which is also an exchange trading identifier.
Let's compile the code and see if it is successfully compiled, to compile the code run
>npx hardhat compile
>Compiling 6 files with 0.8.4
>Compilation finished successfully
If there are no errors, you will see a successful message like above
Time to deploy our contract to Rinkeby Test Network
Deploying a contract means that we need to tell all the nodes in the network about our contract, to do so we will be using 3rd party service known as Alchemy. With the help of https://www.alchemy.com/ we can deploy our contract across the networks
Let's signup at alchemy
- Create an app at alchemy and get the API keys, which we will be needing while deploying the project
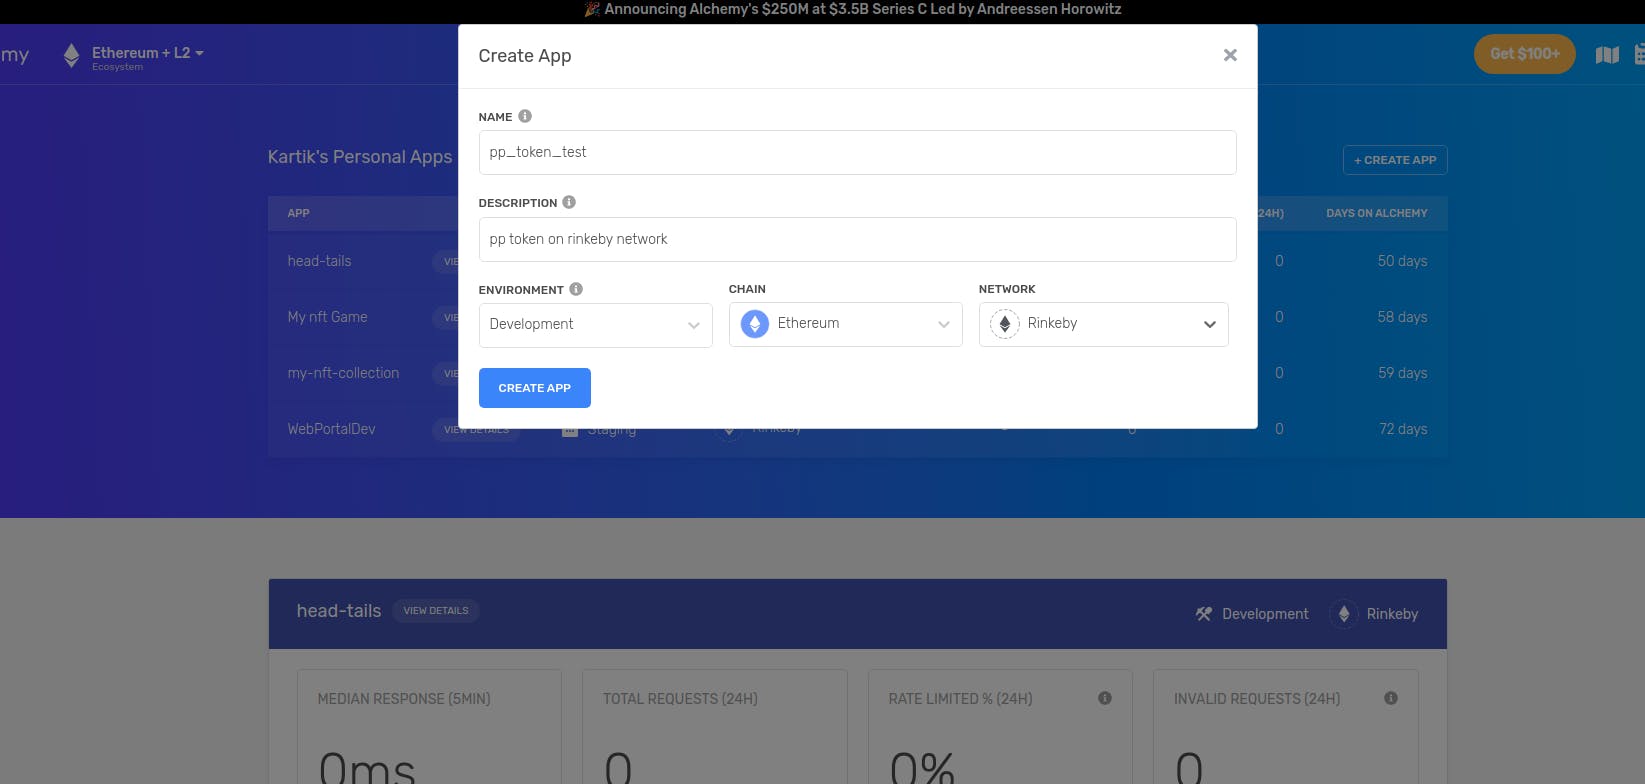
in the above screenshot, you can notice that we have used development environment and network as Rinkeby as this is the test network and we won't be using real ethereum in that
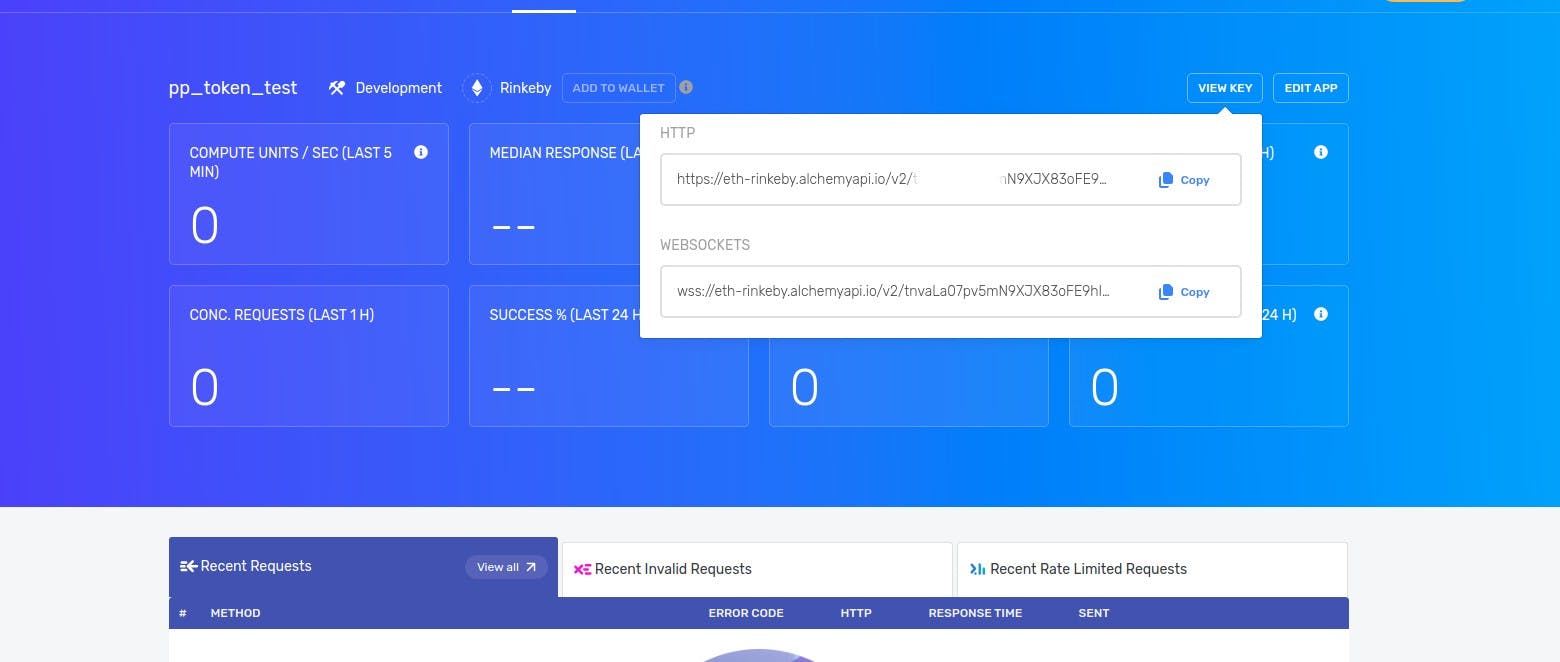
- After creating an app, you will see the name of the apps in your list, select the app you created in my case its pp_token_test and click on the view key button and copy the HTTP key and save it somewhere.
Let's head back to our project and create a script deploy.js inside the scripts folder and paste the following code
// We require the Hardhat Runtime Environment explicitly here. This is optional
// but useful for running the script in a standalone fashion through `node <script>`.
//
// When running the script with `npx hardhat run <script>` you'll find the Hardhat
// Runtime Environment's members available in the global scope.
const hre = require("hardhat");

async function main() {
  // Hardhat always runs the compile task when running scripts with its command
  // line interface.
  //


  // We get the contract to deploy
  const PPtoken = await hre.ethers.getContractFactory("PPtoken");
//we deploy the contract on the network
  const pp_token = await PPtoken.deploy();
// we are waiting for the contract to get deployed
  await pp_token.deployed();

//Once the contract is deployed, we can see the address of the contract
  console.log("PP token deployed to:", pp_token.address);
}

// We recommend this pattern to be able to use async/await everywhere
// and properly handle errors.
main()
  .then(() => process.exit(0))
  .catch((error) => {
    console.error(error);
    process.exit(1);
  });
I have made sure that I have commented out all the lines for better understanding, but feel free to reach out to me in case you have trouble understanding any of it.
Now, It's time to update the hardhat config
Let's update the hardhat.config.js so that we can tell our code to deploy at rinkeby network otherwise it will deploy our contract locally.
Things we need to deploy the contract
- We will be needing the Alchemy key copied above, so that we can update the code as below
- We need an account on rinkeby network with fake ether so that we can pay the gas fee while deploying the contract.
open the hardhat.config.js and paste the following code
// You need to export an object to set up your config
// Go to https://hardhat.org/config/ to learn more

/**
 * @type import('hardhat/config').HardhatUserConfig
 */
module.exports = {
  solidity: "0.8.4",
  networks: {
    rinkeby: {
      url: 'https://eth-rinkeby.alchemyapi.io/v2/tnvaLa07pv5JX83oFE9hI9tcvv3G',
      accounts: ['paste_your_private_keys'],
    },
  },
};

/**
 * Also note that this file is supposed to be inside gitignore as this file might contain private keys of your wallet
 * You can also put them inside the environment file to avoid any trouble
 */
In the above code, I have added the URL which we have copied from Alchemy in the above steps.
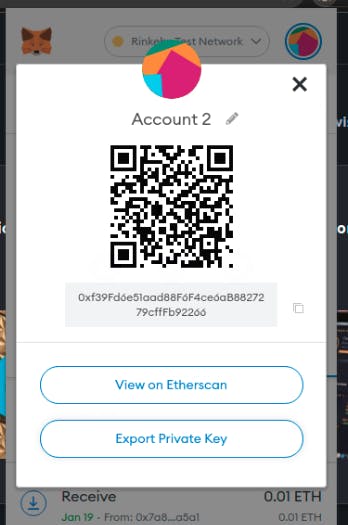
We will also need to paste our private keys which you can export from metamask into accounts array
Time to deploy our contract on the test network 🎉🎉
After following the above steps, we just need to run our deploy script (deploy.js) and the contract will be deployed on the test network. Run the following command to start the deploy script.
npx hardhat run --network rinkeby scripts/deploy.js
 After successfully running the script above you will see the output in the command line. This is the contract address where the contract is deployed you can take this address and paste it on https://rinkeby.etherscan.io/ to check the actual details inside the blockchain.
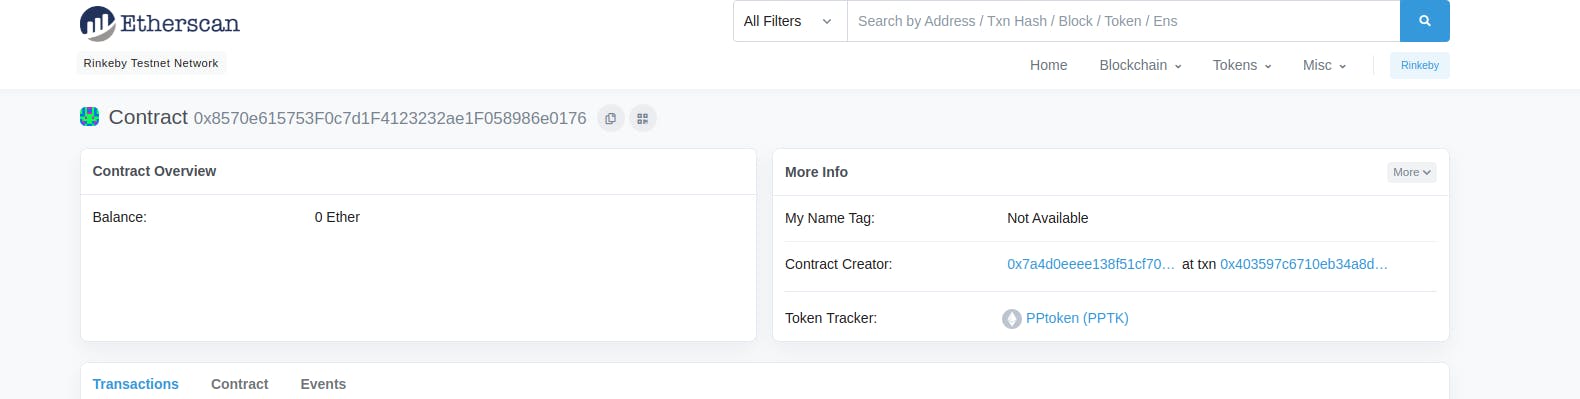
In the above screenshot, you can see the pptoken and details associated with it, you can have a look at this link to know more
https://rinkeby.etherscan.io/address/0x8570e615753F0c7d1F4123232ae1F058986e0176
You can find the code here https://github.com/kartikpuri95/pp_token
Hooorayyyyyy we have created our own token!!!!!
I hope you like this post, you can follow me on twitter for more such updates and do give a reaction